How To Make Slime With Baking Soda And Shampoo – Easy DIY Method
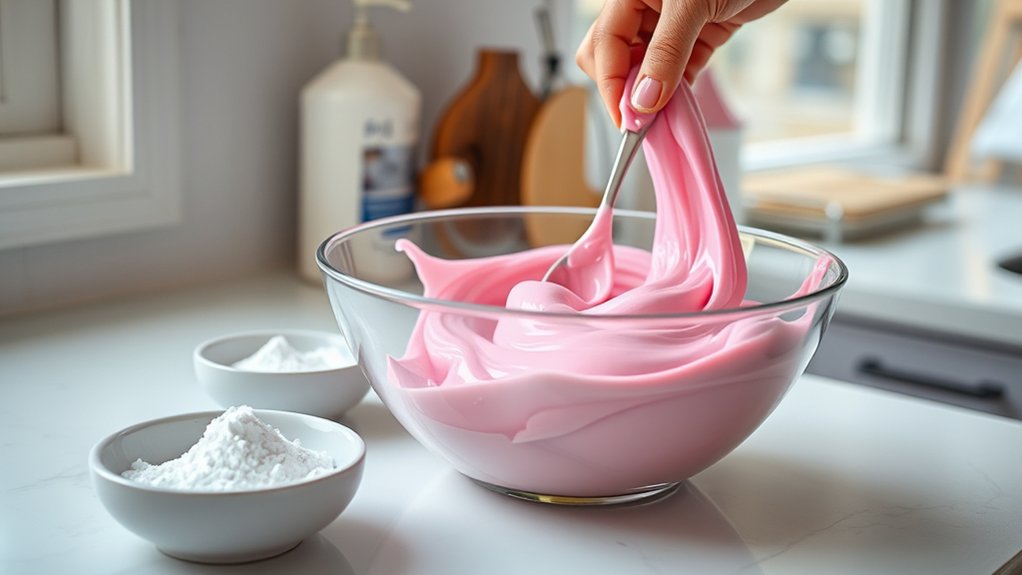
To make slime with baking soda and shampoo, start by pouring ½ cup of thick gel shampoo into a bowl. Then add ½ teaspoon of baking soda. Stir well until the mixture thickens. If it’s too runny, just add a bit more baking soda.
Use thick, non-toxic shampoo for the best results. You can also customize your slime with food coloring or glitter if you like. It’s a fun way to make it your own.
Store your slime airtight to keep it fresh. Keep following for tips on improving texture and safe handling. You’ll be a slime pro in no time!
Ingredients and Tools for Baking Soda Shampoo Slime
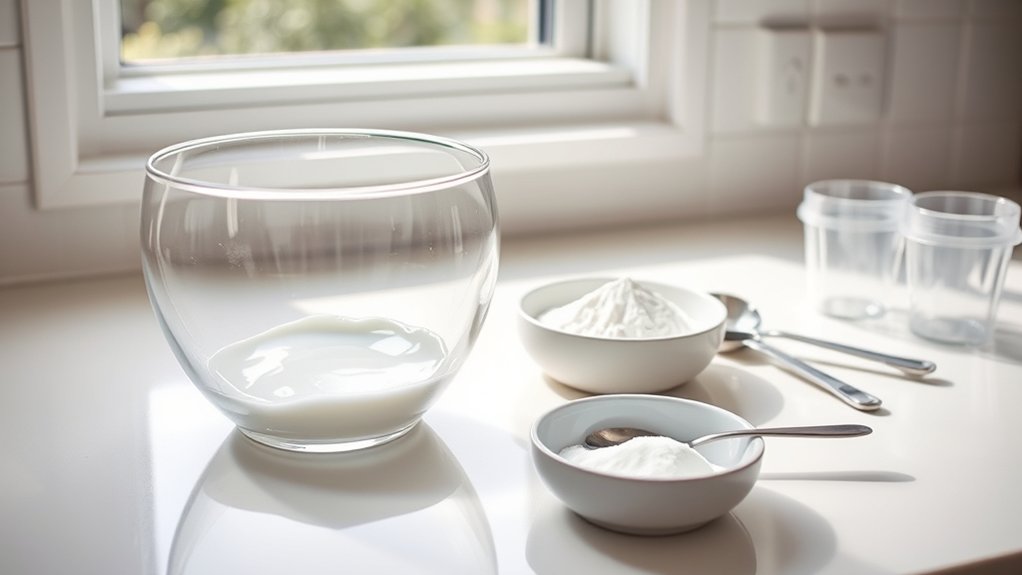
Before you start making slime, gather the right ingredients and tools to guarantee success. You’ll need 1/2 cup of thick gel shampoo and 1/2 teaspoon of baking soda as your primary ingredients.
Make sure the shampoo is thick and opaque, as this helps achieve the ideal slime texture.
Choosing thick, opaque shampoo is key to creating slime with the perfect texture and consistency.
Along with these, prepare a mixing bowl and a sturdy spoon or spatula for stirring. Combine the shampoo and baking soda in the bowl, stirring thoroughly until the mixture thickens, usually within a few minutes.
This assures the baking soda is evenly distributed throughout the shampoo.
Having these ingredients and tools ready will streamline the process and help you create slime with the perfect consistency every time. It really makes the whole thing easier and more fun!
Picking the Best Shampoo for Your Slime
When choosing shampoo for your slime, selecting a thick gel or opaque formula is essential to achieve the best stretch and consistency. Thick gel shampoos provide the ideal texture, making your slime stretchy and easy to handle.
Look for products with non-toxic ingredients to keep your slime safe, especially if kids will play with it. Avoid thin shampoos, as they often require too much thickener, which can ruin your slime’s feel.
Before making a full batch, always test a small amount of shampoo first. This helps you see how well it thickens and reacts with baking soda.
Taking these steps guarantees you pick the best shampoo, setting you up for slime that’s both fun and safe.
Making Baking Soda and Shampoo Slime Step-by-Step
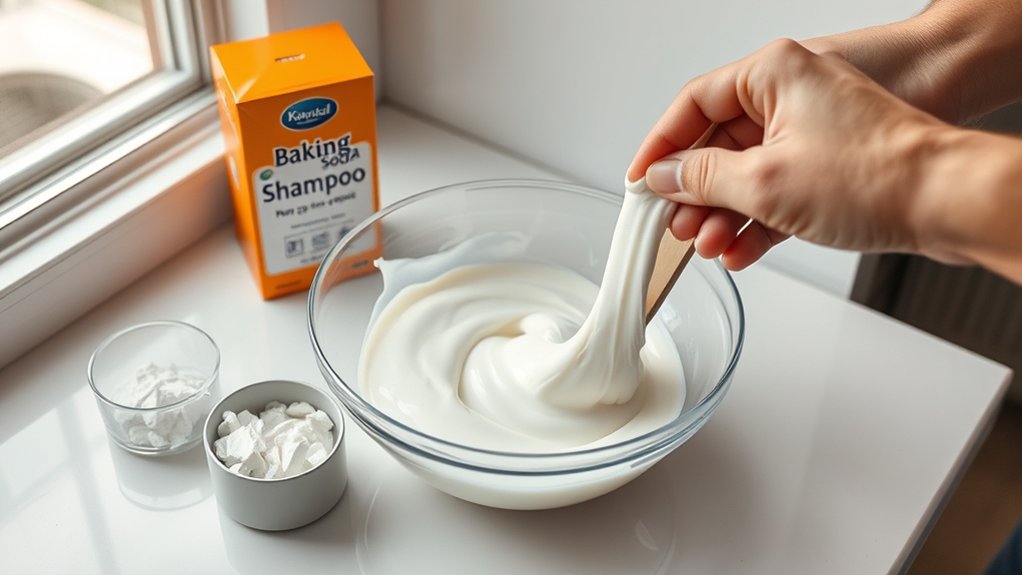
Start by measuring out half a cup of thick gel shampoo and pouring it into a mixing bowl. Next, add a small half teaspoon of baking soda. Stir the mixture well until it thickens.
If it’s too runny, be certain to add a small amount of baking soda gradually, mixing thoroughly after each addition. For the best results, refrigerate the slime for 24 hours or freeze it for 1 hour to improve texture and stretchiness.
Use the following step-by-step guide to guarantee success:
| Step | Action | Tip |
|---|---|---|
| 1 | Pour shampoo | Use thick gel shampoo |
| 2 | Add baking soda | Start with 1/2 teaspoon |
| 3 | Stir and adjust consistency | Add baking soda gradually |
Store your slime in an airtight container to keep it fresh.
Customizing Baking Soda and Shampoo Slime
You can easily customize your baking soda and shampoo slime by adding color and texture to make it truly your own. Why not try mixing in some food coloring? It gives your slime vibrant hues that really pop.
Or, if you want a bit of sparkle, sprinkle in some glitter—it adds a fun, sparkling effect that makes the slime even more sensory-rich.
You can also play around with different add-ins. For example, foam shaving cream can make your slime super fluffy and soft.
And if you’re into scents, a few drops of essential oils can give your slime a unique aroma. Don’t forget beads, either—they add an interesting texture that’s fun to squish and stretch.
The best part? You get to experiment and find the perfect combo that’s all yours!
Color And Texture
Keep going with small additions until you reach your desired shade.
For texture, adjust the baking soda amount. More thickens the slime, less softens it.
Adding a squirt of foam shaving cream boosts fluffiness, creating a lighter, airier feel. Glitter can enhance visual appeal without affecting texture.
Remember to store your slime in an airtight container to keep its color vibrant and freshness intact.
Add-Ins And Effects
Beyond adjusting color and texture, adding special ingredients can elevate your baking soda and shampoo slime to a whole new level.
You can explore glitter options, scent combinations, and texture variations to customize your slime perfectly.
- Glitter Options: Mix in various glitters or confetti to create a sparkling, eye-catching slime with unique visual effects.
- Scent Combinations: Add a few drops of scented oils or extracts to give your slime a pleasant aroma, making playtime more enjoyable.
- Texture Variations: Incorporate foam shaving cream for a fluffy texture or a pinch of salt to thicken and enhance stretchiness.
Also, experimenting with different shampoo types, especially thicker gels, helps you control consistency better.
Try these add-ins to craft slime that’s truly your own!
Tips for Fluffier and Stretchier Slime
To make your slime fluffier, start by adding a squirt of foam shaving cream—it really helps boost the volume and makes it super soft.
You can also try using a thick gel shampoo, which tends to improve the slime’s texture and stretchiness quite a bit.
Then, go slow with the salt; adjusting it little by little will help you find that perfect balance between thickness and elasticity.
Give it a try and see how much better your slime turns out!
Adding Foam Shaving Cream
Boost your slime’s texture by adding foam shaving cream to your shampoo and baking soda mix. This simple addition enhances slime texture and creates a light foam consistency, making your slime fluffier and stretchier.
Here’s how to do it:
- Start with 1/2 cup of thick gel shampoo and mix in 1/2 teaspoon baking soda.
- Gradually add foam shaving cream, kneading well to evenly distribute it and elevate fluffiness.
- If the slime feels sticky, add a bit more baking soda to thicken the mixture.
You can also mix in food coloring or glitter with the shaving cream for vibrant, fun slime.
This method guarantees your slime has a soft, airy feel with excellent stretch and bounce.
Give it a try and watch your slime transform into a fluffy, fun masterpiece!
Using Thick Gel Shampoo
Choosing the right thick gel shampoo is essential for making slime that holds its shape and feels satisfying to stretch. Thicker shampoos provide better slime texture enhancement compared to thinner varieties, which often result in runny slime.
To start, mix 1/2 teaspoon of baking soda with 1/2 cup of thick gel shampoo. Use thorough mixing techniques. Stir for several minutes until the mixture thickens uniformly.
If you want fluffier slime, adding a squirt of foam shaving cream can boost volume and stretchiness. While thick gel shampoo is preferable, you can experiment with shampoo alternatives, but expect varied results in texture.
Once your slime reaches the desired consistency, store it in an airtight container to keep it fresh and prevent drying.
These steps guarantee a fun, stretchy slime every time.
Gradual Salt Adjustment
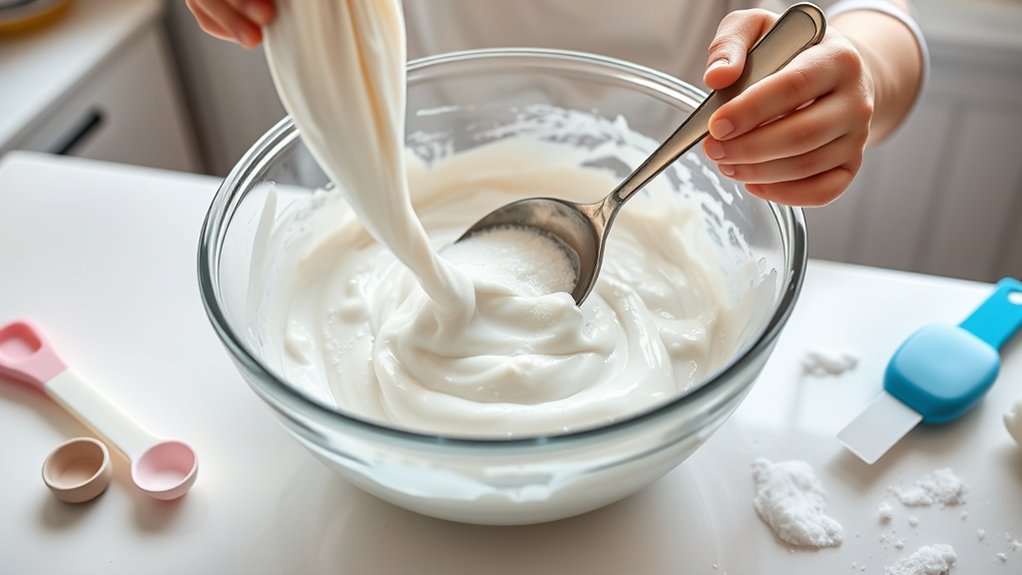
Although salt might seem like a minor ingredient, gradually adding it plays an essential role in making your slime fluffier and stretchier.
Proper salt measurement directly influences the slime texture and its elasticity enhancement.
Here’s how to adjust salt effectively: Start with a small pinch of salt, stirring it in thoroughly. Knead the slime to activate ingredients and improve elasticity.
After each addition, test the slime texture. If it’s too thick, balance it by adding shampoo or water to maintain stretchiness.
For thin shampoo, increase salt gradually to thicken the mixture without making it runny. Just take it slow, and you’ll get the perfect slime consistency in no time!
Refrigerating and Freezing Slime for Best Texture
When you refrigerate slime for 24 hours, you’ll notice it becomes stretchier and more pliable, enhancing your play experience. This is one of the key refrigeration benefits that improve slime texture. Slime temperature effects also include freezing for 1 hour, which firms up overly soft or sticky slime.
Always store slime in an airtight container to avoid drying or odor absorption. Stir regularly to maintain even consistency. If slime hardens, add a few drops of water or hand sanitizer to revive it.
| Method | Duration | Effect on Texture |
|---|---|---|
| Refrigerate | 24 hours | Stretchier, pliable |
| Freeze | 1 hour | Firmer consistency |
| Storage tip | Airtight box | Prevents drying/odor |
| Maintenance | Stir regularly | Even texture |
Fixing Baking Soda and Shampoo Slime Consistency Issues
If your baking soda and shampoo slime isn’t quite right, you can adjust its consistency with a few simple steps.
Slime texture troubleshooting helps you fix common slime mistakes and improve your slime’s feel with ease.
Troubleshooting slime texture is key to fixing common issues and enhancing your slime’s perfect feel.
Try these slime maintenance tips:
- If the slime is too thick, add a small amount of shampoo or a few drops of water gradually. Stir well each time to reach the ideal texture.
- For runny slime, mix in an extra pinch of baking soda thoroughly to thicken it and reduce stickiness.
- Let the slime sit for a few hours after mixing to allow ingredients to blend. This helps improve smoothness and manageability.
Always knead your slime after adjustments to evenly distribute changes and keep the perfect consistency.
It really makes a difference!
Safe Handling and Cleaning After Slime Play
After playing with slime, be sure to wash your hands thoroughly with soap and water to get rid of any sticky residue.
It’s a good idea to clean the surfaces you used as well—just grab a damp cloth and wipe them down to prevent any leftover slime from causing stains or messes.
And if kids are involved, always keep a close eye on them to make sure slime play stays safe and under control.
Hand Washing Techniques
Because slime ingredients can leave residue that irritates your skin, you should always wash your hands thoroughly with soap and water once you’re done playing.
Practicing proper hand washing techniques is essential for maintaining hygiene and ensuring slime play safety.
Follow these steps to clean your hands effectively: wet your hands, apply soap, and scrub all surfaces—including between fingers and under nails—for at least 20 seconds.
Then rinse well under running water to remove all slime traces and soap. Finally, dry your hands with a clean towel or air dryer.
If soap and water aren’t available, use hand sanitizer as a temporary solution to eliminate any lingering slime residue.
Surface Cleaning Tips
Keeping your hands clean is just one part of managing slime play effectively. Paying attention to the surfaces you use can prevent sticky messes and damage. Always choose washable surfaces to allow quick clean up if slime spills occur.
Keep a damp cloth nearby to wipe down areas immediately. This helps avoid residue buildup that can attract dirt or stain surfaces.
| Tip | Why It Helps | Action Step |
|---|---|---|
| Use washable surfaces | Easy slime spill prevention | Cover tables with plastic |
| Keep damp cloth ready | Quick clean up of slime residue | Wipe spills right away |
| Use ice on clothing | Lifts slime stains from fabric | Rub ice cube before washing |
Following these tips guarantees safe handling and keeps your play area spotless. It’s all about making slime play fun and mess-free!
Safe Supervision Practices
While slime play offers endless fun, you must always supervise small children closely to prevent ingestion and guarantee they handle materials safely.
Effective supervision strategies include clear safety reminders and prompt cleanup techniques to maintain a safe environment.
Remind children not to put slime near their mouths and always wash hands thoroughly with soap and water after playing to remove residue and reduce stickiness.
Use washable surfaces during slime activities, making spills easier to manage without damaging furniture.
Keep cleaning supplies like damp cloths nearby to quickly address any messes, and dispose of unmanageable slime properly to avoid hazards.
This way, you can keep the play area safe and comfortable for everyone involved.
Storing Your Baking Soda and Shampoo Slime to Keep It Fresh
To guarantee your baking soda and shampoo slime stays fresh and pliable, store it in an airtight container immediately after use.
Choosing the right container type is essential for effective slime storage solutions. Opt for plastic or glass containers with tight-fitting lids to maintain humidity control and prevent drying.
Keep the container in a cool, dry place away from sunlight and heat. These can quickly degrade the slime’s texture.
If your slime hardens, just add a few drops of water or hand sanitizer and knead it to restore softness.
Avoid refrigerating unless necessary. But if you do, stir regularly to keep the texture even.
When slime becomes too sticky or unmanageable, it’s best to discard it to avoid contamination or further degradation.
Optional Variations With Cornstarch, Salt, or Toothpaste
If you want to experiment with different slime textures, try mixing in cornstarch, salt, or toothpaste alongside your baking soda and shampoo base. These optional variations can really transform your slime-making experience.
- Cornstarch benefits: Add 2 1/4 cups of cornstarch per 1/2 cup of shampoo to create fluffier, thicker slime that’s fun to stretch and squish.
- Salt impact: A pinch of salt enhances slime’s thickness and consistency, giving it a firmer, more moldable feel.
- Toothpaste alternatives: Substitute equal parts 2-in-1 shampoo and toothpaste for a unique texture and scent, offering a fresh twist on your slime.
Remember to adjust baking soda and shampoo gradually, stirring well to reach your preferred consistency.
Just take your time and have fun with it!
Frequently Asked Questions
Can I Use Any Type of Baking Soda for Slime?
You can use most baking soda types for slime, but stick to pure baking soda without additives for the best slime texture.
Different brands might slightly alter the consistency, so adjust your ingredient ratios accordingly.
Fresh, clump-free baking soda helps achieve a smooth, stretchy slime.
Avoid baking powder, as it contains extra ingredients that can ruin the texture.
Always store your baking soda properly to maintain its effectiveness for future slime batches.
How Long Does Homemade Slime Typically Last Before Spoiling?
Think of your homemade slime as a delicate flower. It usually lasts about 1 to 2 weeks before wilting. Slime longevity depends on factors like storage temperature and moisture.
To extend its life, use airtight slime storage tips. Keep it at room temperature, or you can refrigerate it for up to a month.
Slime preservation methods like adding cornstarch and regular stirring help keep it fresh and stretchy longer.
This way, you can prevent spoilage and enjoy your slime for a while.
Is It Safe for Young Children to Make Slime With Shampoo?
Yes, it’s safe for young children to make slime with child friendly ingredients like gentle shampoo and baking soda. You should follow supervision guidelines closely, ensuring kids don’t ingest the slime and wash their hands afterward.
This activity supports sensory play benefits, helping children explore textures and improve fine motor skills.
Always choose non-toxic, mild shampoos and consider a patch test to avoid skin irritation, making slime time fun and safe.
Can Slime Made With Shampoo Cause Skin Irritation?
Yes, slime made with shampoo can cause skin sensitivity reactions, especially if you have sensitive skin or allergies.
Some shampoo ingredients may irritate your skin, so it’s important to check the shampoo ingredients for safety before making slime.
To avoid discomfort, you should perform a patch test and limit how long the slime stays on your skin.
If you’re worried about irritation, there are plenty of alternative slime recipes that use non-toxic, skin-safe materials.
That way, you can keep your skin safe and enjoy slime-making without any worries.
How Do I Safely Dispose of Old or Unwanted Slime?
You should avoid pouring slime down drains to prevent clogs. Instead, try eco-friendly disposal by placing hardened slime in a sealed bag before trashing it.
For slime storage solutions, keep usable slime airtight to extend its life.
Consider slime recycling ideas like composting if it’s made from natural ingredients, but only in small amounts.
Always check local guidelines for proper disposal to keep things safe and green.
It’s a simple way to make sure you’re doing your part for the environment.
Conclusion
Now that you’ve mastered baking soda and shampoo slime, you’re basically a slime wizard capable of creating stretchy, fluffy masterpieces that could rival any store-bought putty! With just a few simple ingredients and tweaks, you can customize your slime to perfection. No more boring batches or sticky disasters.
Remember, the magic lies in your hands and the little adjustments you make. Keep experimenting, and you’ll never run out of fun, gooey adventures!