How To Make Slime Without Glue Or Activator With Shampoo – Easy DIY
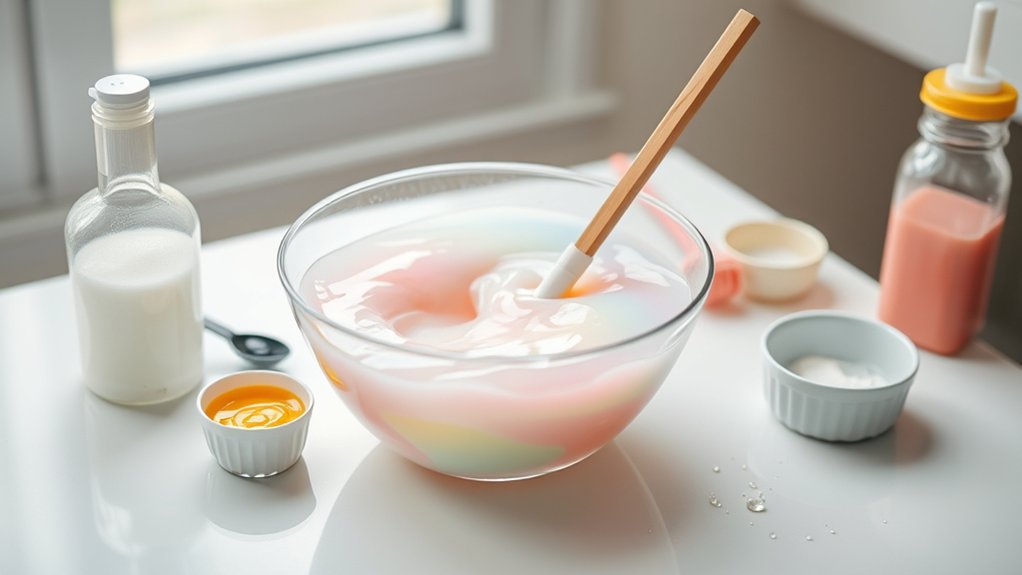
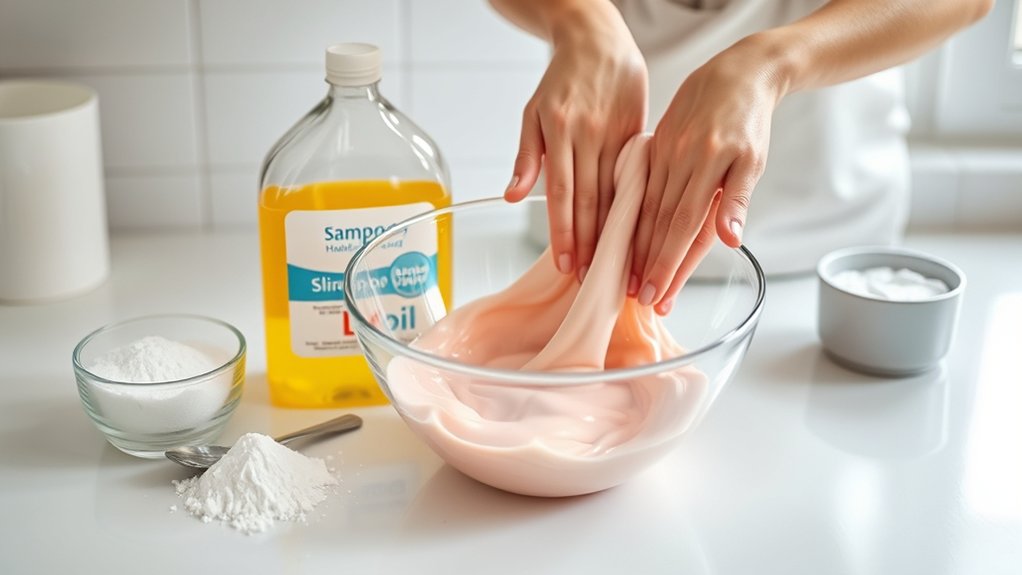
You can make slime easily without glue or activator using just shampoo and soap. Start by mixing two generous pumps of creamy hand soap with thick shampoo in a bowl. Add a few drops of food coloring and perfume for color and scent, then stir well to avoid clumps.
Freeze the mixture for 20 minutes to thicken it, then knead gently until smooth and stretchy. Want tips on keeping your slime perfect? Or maybe some fun ideas to try?
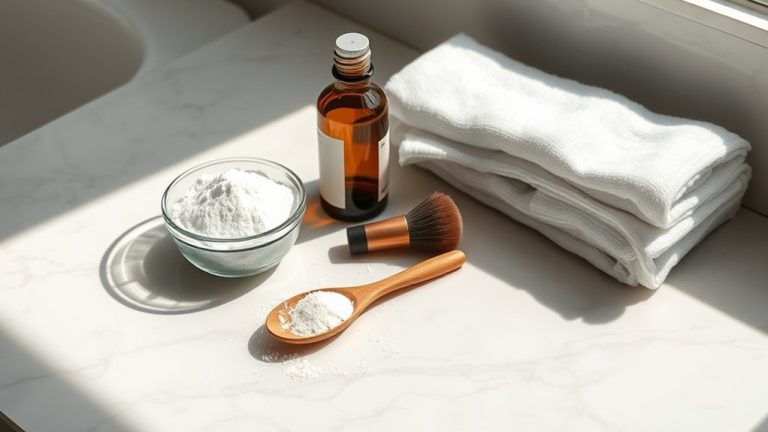
Ingredients Needed for Slime Without Glue or Activator
To make slime without glue or activator, you’ll need a few simple ingredients that work together to create the perfect stretchy texture. Start with shampoo or liquid soap as your base. These shampoo alternatives provide thickening properties that are essential for slime.
Create stretchy slime using shampoo or liquid soap as a thickening base—no glue or activator needed.
Add two pumps of hand soap to improve the consistency and introduce interesting texture variations.
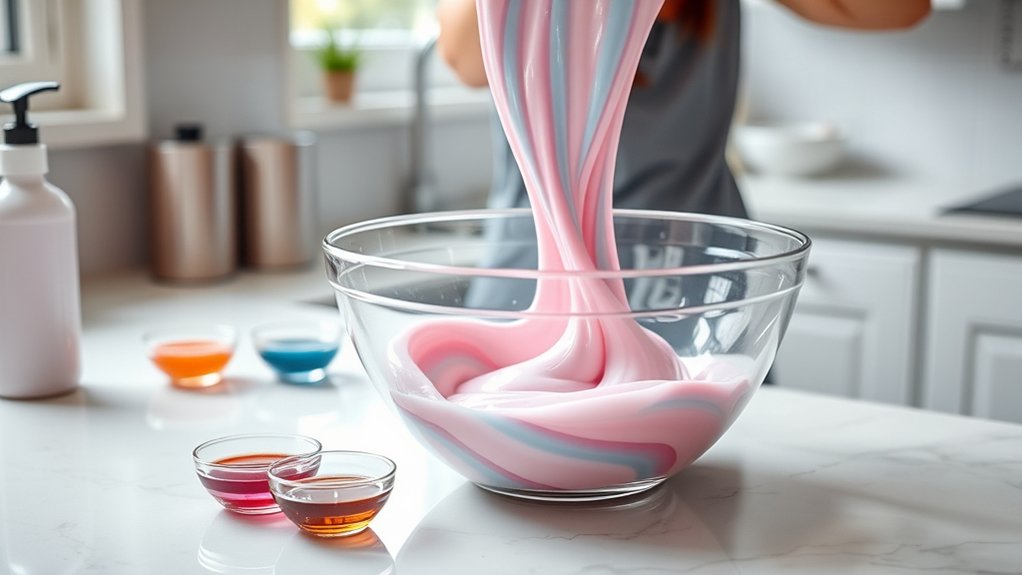
To customize your slime, mix in food coloring, which adds vibrant hues and makes your creation uniquely yours. A small amount of perfume acts as a slime activator and gives it a pleasant scent.
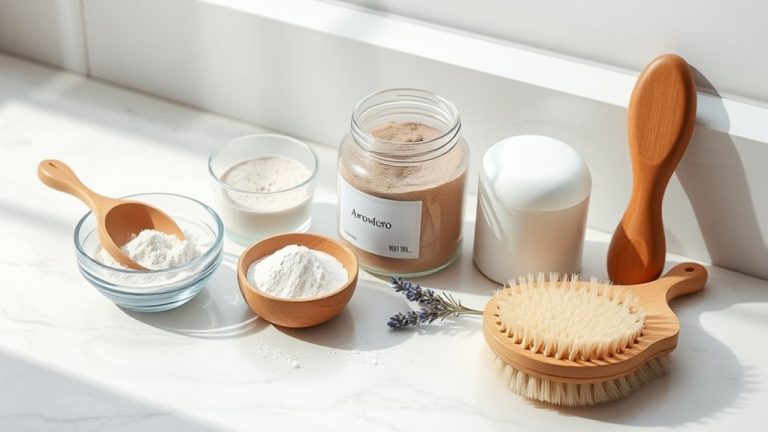
Finally, toss in decorative elements like glitter or stars to enhance the look and feel.
With these ingredients, you’ll easily craft slime that’s fun to play with and visually appealing without needing glue or traditional activators. It’s pretty simple once you get the hang of it!
How to Prepare Shampoo and Soap for Your Slime Base
Although it might seem simple, preparing your shampoo and soap correctly is key to making slime that’s both stretchy and fun to play with.
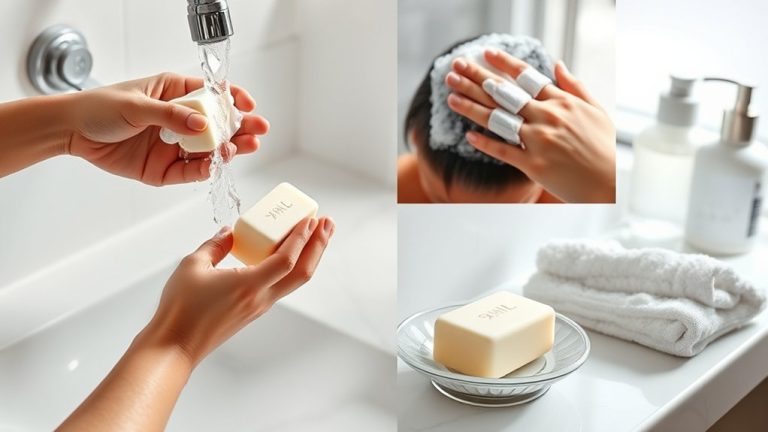
Start by choosing gentle soap brands with a creamy texture. Liquid hand soaps work best. Pump two generous amounts into your mixing bowl to create a smooth base.
Next, pick shampoo types known for their thickness and moisturizing properties. Adding a small amount will improve your slime’s stretchiness.
Combine the soap and shampoo thoroughly, stirring well to avoid clumps.
This blend forms your glue-free slime’s foundation, providing the right consistency and feel.
How to Add Color and Scent to Your Glue-Free Slime
Adding color and scent to your glue-free slime can transform it into a sensory delight that’s as fun to smell as it’s to squish.
Start by adding a few drops of food coloring to your shampoo and soap base, adjusting to achieve your preferred color intensity.
Begin with a few drops of food coloring in your shampoo and soap base, adjusting for your perfect hue.
For scent selection, choose a small amount of perfume or scented body spray that complements your slime’s aroma without overpowering it.
Mix both the color and scent thoroughly into the base to guarantee even distribution.
Keep in mind, the shampoo you use may affect the final color and scent, so pick one with a milder fragrance if desired.
After mixing, let your slime rest a few minutes before freezing to allow the ingredients to meld properly for the best sensory experience.
How to Mix Your Slime Step-by-Step
Start by dispensing two pumps of hand soap or shampoo into a mixing bowl, which will form the base of your slime.
Next, add a few drops of food coloring to customize your slime’s look. Use slow, steady mixing techniques to blend the soap and color evenly, watching for clumps that might form.
These clumps are normal. Keep stirring until they smooth out.
For slime consistency tips, freezing the mixture for 20 minutes helps it thicken and become stretchy without any glue or activator.
After chilling, check the texture; it should be pliable yet hold its shape. If it feels too sticky, give it a little more time in the freezer.
With these simple steps, your slime will have the perfect consistency to enjoy and play with right away.
Why Freezing Makes Your Slime Better
When you freeze your slime for about 20 minutes, you’ll notice its texture improves considerably. The cold helps the ingredients bind together more smoothly.
The freezing benefits come from the cold slowing molecular movement, which creates a more cohesive structure and boosts elasticity. This means your slime texture becomes smoother and less sticky.
Freezing also breaks down any clumps formed during mixing, giving your slime a uniform, appealing look. Plus, the cold lets added fragrances and colors meld better, making the slime more enjoyable to play with.
As you wait, the anticipation builds, making that final stretch and squish even more satisfying.
How Long to Freeze Slime for Best Results
Freezing your slime for just the right amount of time can make all the difference in how it feels and stretches. To achieve the best slime texture without glue or activator, freeze your slime for about 20 minutes. This duration activates the ingredients perfectly, enhancing the freezing effects by firming up the slime just enough.
Start checking it after 15 minutes to see how flexible it is. Freezing longer will make it firmer, so adjust depending on how stretchy or solid you want it.
Make sure to store your slime in an airtight container during freezing to prevent it from drying out.
Once frozen, let it thaw for a few minutes before playing to enjoy the ideal slime texture and elasticity.
How to Prevent Clumping in Glue-Free Slime
To keep your glue-free slime from clumping, start by mixing your shampoo and soap really well before adding anything else. It’s super important to get them blended thoroughly.
Also, try to keep the temperature just right—not too hot or too cold—because extreme temperatures can mess with the texture and cause lumps.
Using a whisk or a mixer can make a big difference, too. It helps blend everything evenly, so you end up with smooth, stretchy slime every single time.
Give it a good stir, and you’re all set!
Proper Ingredient Mixing
Although you’re skipping glue, you can still create smooth, clump-free slime by carefully mixing your ingredients. Start with the right ingredient ratios. Two pumps of hand soap combined with an equal amount of shampoo create the perfect base.
Use gentle mixing techniques, stirring thoroughly to evenly distribute both soap and shampoo. Gradually add food coloring while mixing to prevent separation and maintain a consistent texture.
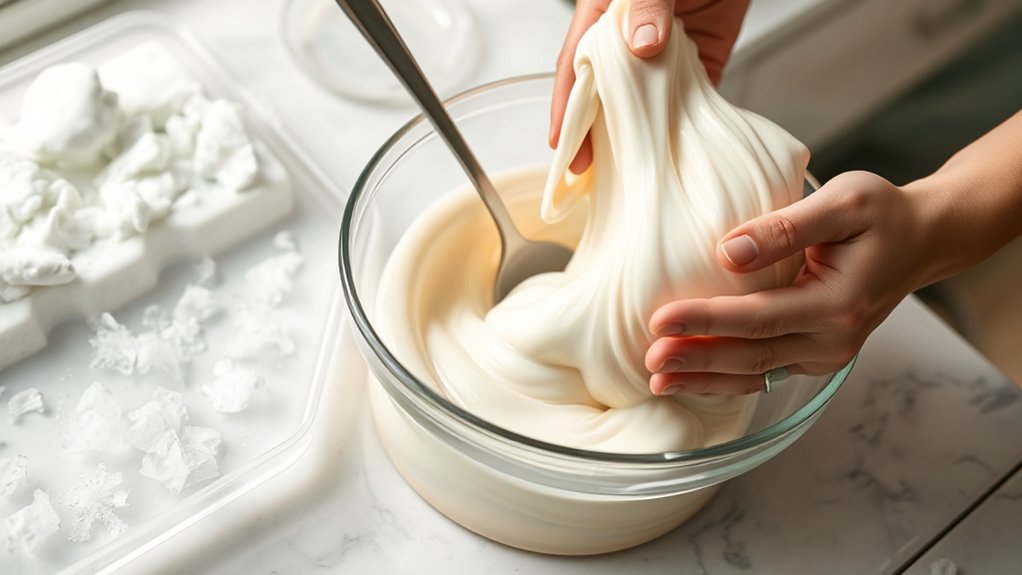
If clumps appear, don’t worry. Gently knead the mixture with your hands to break them down and smooth out the slime. This hands-on approach helps achieve the ideal consistency without lumps.
Following these steps guarantees your glue-free slime stays soft and pliable, making your DIY experience fun and mess-free.
Temperature Control Tips
When you keep your slime mixture at room temperature, you’ll prevent clumping and guarantee a smooth, stretchy texture. Temperature effects play a big role in your slime’s consistency, so working in the ideal room is key.
Here’s how to control temperature and avoid clumps:
- Mix shampoo and soap thoroughly before adding anything else to assure even texture.
- Add food coloring and perfume slowly, stirring continuously to keep the mixture smooth.
- Maintain room temperature while mixing. Avoid hot or cold environments that trigger clumping.
- If clumps form, knead the slime gently with your hands to break them up. Then chill it briefly in the freezer to solidify without causing lumps.
Following these tips helps you create perfect glue-free slime every time!
How to Know When Your Slime Is Ready to Use
A smooth, stretchy slime that isn’t sticky is your best sign that it’s ready to play with. To check the slime texture, gently pull it apart. You want it to stretch without tearing.
The slime consistency should be thick enough to hold its shape but still flexible. If it feels too runny or falls apart, mix it more or try a short freeze to firm it up.
Aim for slime that’s thick yet flexible; if too runny, mix more or chill briefly to firm it up.
Look for a glossy finish and vibrant color as visual cues that your slime’s ready.
When you squish or stretch it, the slime should bounce back easily. These signs mean your shampoo slime has reached the perfect balance.
Fun Ways to Play With Your Homemade Shampoo Slime
Now that your shampoo slime is perfectly smooth and stretchy, it’s time to have some fun with it! Engage in sensory exploration by stretching and squishing your slime to enhance tactile experiences.
Here are some playful activities to try:
Mix in glitter or small toys for added visual stimulation and imaginative play. Shape your slime into creative shapes and figures to boost fine motor skills.
You can also combine slime with beads or foam balls for unique texture combinations and sensory games.
Or try playing “Slime Toss” by throwing small slime pieces into a target area for some exciting game ideas.
These activities turn your homemade shampoo slime into a versatile tool for both learning and fun! Give them a go and see how much you can enjoy your slime.
How to Troubleshoot Common Glue-Free Slime Problems
Troubleshooting glue-free slime can be straightforward once you know what to look for. If your slime feels too sticky, try adding a bit more shampoo or soap alternatives to improve the texture without glue or activator.
For clumpy slime, make sure all ingredients, including your chosen shampoo types, are mixed thoroughly before freezing. Uneven mixing leads to rough textures.
Ensure all ingredients, especially shampoo, are well mixed before freezing to avoid clumpy, rough slime textures.
If your slime lacks stretch, adjust the shampoo and soap ratios, since too much of either affects elasticity. When slime won’t hold after freezing, check that you’ve frozen it long enough to activate properly.
Finally, add food coloring gradually to get the perfect shade without ruining the slime’s consistency.
These tips will help you craft smooth, stretchy glue-free slime every time. Give them a shot, and soon you’ll be making slime that feels just right!
Frequently Asked Questions
Can I Use Any Type of Shampoo for Slime?
You can use many shampoo brands to make slime, but keep in mind that fragrance types and added ingredients matter. Thick shampoos usually work best, while those with conditioners might make your slime too slippery.
If you have sensitive skin, choose fragrance-free or gentle types to avoid irritation.
It’s a good idea to try experimenting with different brands and fragrances to find the perfect slime texture and scent that suits your preference and skin comfort.
Is This Slime Safe for Kids to Play With?
Safety concerns often bubble up like foam when kids play with slime, but you can rest easy here. This slime, made with shampoo and alternative ingredients, is generally safe for kids.
Still, you should supervise playtime and watch for skin sensitivities by doing a patch test first.
Avoid strong perfumes or dyes, and always clean up afterward. With these steps, your little ones can enjoy slime fun without worry.
How Long Does Homemade Shampoo Slime Last?
Your homemade shampoo slime usually lasts about 1 to 2 weeks, depending on slime longevity factors.
To keep it fresh, store it in an airtight container and place it in a cool spot away from direct sunlight.
Regularly kneading the slime helps maintain its softness and stretchiness.
If you notice any weird smell or mold, it’s best to toss it out for safety.
Following these storage tips will help you enjoy your slime longer!
Can I Store Slime Without It Drying Out?
Yes, you can store slime without it drying out by using proper slime storage techniques.
Keep your slime in an airtight container to lock in moisture and minimize humidity effects that can either dry it out or make it too sticky.
Store the container in a cool, dry place away from direct sunlight.
If it starts to dry, just add a bit of shampoo or water to restore its texture.
Always re-seal after use!
What if My Slime Is Too Sticky or Too Stiff?
If your slime consistency feels too sticky, add a little shampoo or hand soap gradually.
Make sure to mix well after each addition. This helps you avoid adding too much at once.
For slime that’s too stiff, drop in a few drops of water or more shampoo to soften it.
These troubleshooting tips help you find the perfect balance.
Always mix thoroughly and let the slime rest a bit.
The texture can change once the ingredients settle.
Keep experimenting gently until it feels just right!
Conclusion
Now that you’ve mastered making slime without glue or activator, you’re basically a slime wizard! With just shampoo, soap, and a splash of creativity, you can whip up endless batches of colorful, squishy fun.
Remember, freezing your slime works wonders, and a little patience keeps clumps at bay. Keep experimenting with scents and colors, and you’ll have the most amazing, ooey-gooey slime collection ever.
Get ready for hours of squishy, stretchy joy!