How To Make A Clarifying Shampoo – DIY Recipe Guide
You can make a clarifying shampoo by mixing 3-4 tablespoons of apple cider vinegar with 2 cups of water. Then, apply it after shampooing to remove buildup and restore your scalp’s pH.
For deeper cleansing, try combining baking soda with your regular shampoo. Use it sparingly though, about once a week if you have oily hair or once a month if your hair is dry to avoid damage.
Be sure to follow up with moisturizing treatments to keep your hair hydrated. Keep reading for detailed recipes and safety tips!
What Is a Clarifying Shampoo and Why You Need One

A clarifying shampoo is a specialized cleanser formulated to remove product buildup, excess oil, and impurities from your hair and scalp. It effectively strips away residues that regular shampoos can’t, helping to restore the natural pH balance of your scalp and hair.
This balance is critical for maintaining ideal hair health, preventing irritation, and promoting shine and bounce.
While clarifying shampoos often contain potent surfactants, you should use them sparingly. Typically, once or twice a month is enough to avoid overdrying. Incorporating natural ingredients can enhance cleansing efficacy while supporting hair health.
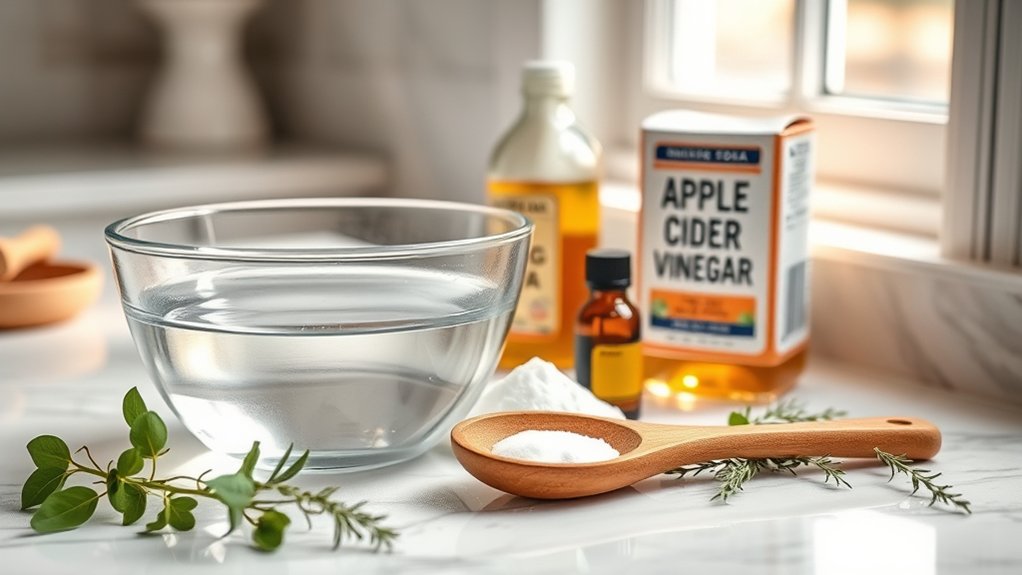
Essential Ingredients for DIY Clarifying Shampoo
You’ll want to pick ingredients that really get rid of buildup but still keep your scalp’s natural balance intact. Baking soda is great because it works as a powerful cleanser.
Then, apple cider vinegar steps in to help restore the pH and add a nice shine to your hair.
It’s all about finding the right proportions. Plus, you can throw in some optional extras like essential oils or thickeners to make sure your DIY clarifying shampoo not only works well but also feels great to use.
Key Ingredient Benefits
Effective clarifying shampoos rely on a combination of key ingredients that target buildup while maintaining scalp health.
Baking soda acts as a natural exfoliant, removing product buildup and dirt due to its alkaline pH (8-9), which enhances cleansing. Apple cider vinegar restores hair’s pH balance, soothes scalp irritation, and adds shine without harsh residue. It’s great for sensitive skin.
Water serves as the solvent, ensuring even distribution of active components during application. Adding essential oils like tea tree or lavender provides antimicrobial benefits and a pleasant scent, which improves the shampoo’s efficacy.
To prevent dryness, it’s a good idea to use a moisturizing conditioner after washing to replenish hydration.
Together, these ingredients create a balanced formula that effectively removes residue while supporting scalp and hair health.
It’s all about finding the right mix to keep your hair clean and healthy without stripping too much moisture.
Ingredient Selection Tips
When selecting ingredients for your DIY clarifying shampoo, focus on components that balance cleansing power with scalp and hair nourishment.
Baking soda offers effective exfoliation and buildup removal due to its high pH (8-9). But you’ll need apple cider vinegar to restore the hair’s natural pH balance and enhance shine post-cleansing.
Incorporate aloe vera to provide moisture and prevent dryness that clarifying agents might cause. Honey acts as a humectant, locking in hydration and improving hair’s luster.
To further support scalp health and add therapeutic benefits, include essential oils like tea tree or lavender.
By combining these ingredients thoughtfully, you’ll create a clarifying shampoo that cleanses deeply while maintaining hair integrity and scalp comfort.
This way, you optimize both function and care.
Using Baking Soda Safely in Your DIY Clarifying Shampoo
Although baking soda offers powerful cleansing and exfoliating benefits due to its high pH and gritty texture, you should use it cautiously to prevent stripping your hair of natural oils.
Baking soda’s pH level of 8-9 effectively removes scalp buildup and excess oils, making it a potent addition to your clarifying shampoo.
However, frequent application can disrupt your hair care routine by causing dryness or damage. To use baking soda safely, mix it with a regular shampoo to form a paste, apply it to the scalp for 1-5 minutes, then rinse thoroughly.
If you have sensitive skin or conditions like eczema, perform a patch test before use. Incorporating baking soda alongside other natural ingredients guarantees balanced cleansing without compromising scalp health.
Why Use Apple Cider Vinegar for Clarifying
While baking soda provides a strong cleansing action, its high pH can disrupt your hair’s natural balance if overused.
Apple cider vinegar (ACV) offers a gentler alternative that effectively restores your hair’s pH balance. Acting as a gentle clarifying rinse, ACV removes light product and mineral buildup without harsh chemicals, supporting scalp health and promoting healthy hair.
Apple cider vinegar gently restores hair’s pH balance and removes buildup, promoting a healthy scalp and vibrant hair.
When diluted properly, it soothes scalp irritation and enhances shine and bounce. Plus, long-term use leaves no vinegar scent, making it ideal for sensitive scalps.
With apple cider vinegar, you can experience:
- Balanced scalp and hair pH
- Removal of stubborn mineral buildup
- Enhanced shine and natural bounce
- Improved scalp health and reduced irritation
- A gentle, chemical-free clarifying rinse for healthy hair maintenance
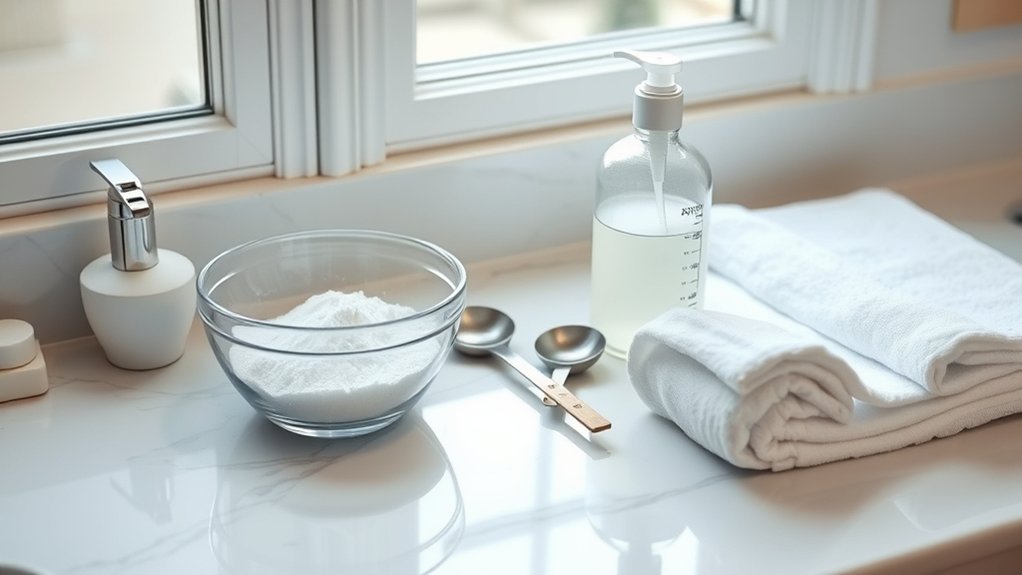
Step-By-Step DIY Clarifying Shampoo Recipe With ACV
To make your DIY clarifying shampoo, start by mixing 3-4 tablespoons of apple cider vinegar with 2 cups of water. This helps to dilute the vinegar so it’s gentle yet effective.
After you shampoo your hair, pour the mixture evenly over your scalp and hair.
Then, gently massage it in and let it sit for a few minutes. When you’re ready, rinse it out thoroughly.
This simple routine helps remove product buildup without messing with your scalp’s natural oils or pH balance. It’s an easy way to keep your hair feeling fresh and clean!
ACV Dilution Ratios
Mixing the right dilution ratio is essential when making a clarifying shampoo with apple cider vinegar (ACV). To guarantee your scalp health and hair pH balance, dilute ACV properly with water. A common effective ratio is 3-4 tablespoons of ACV per 2 cups of water in a 16 oz. bottle.
For gentler use, 1 teaspoon of ACV per cup of water works well. This dilution prevents irritation while maximizing cleansing.
After application, the rinse removes buildup without disrupting your scalp’s natural pH. Feel the buildup dissolve as ACV restores vibrancy. Enjoy a scalp balanced and refreshed by precise pH control. Experience curls bounce back with natural shine.
Avoid harshness with proper dilution, protecting scalp health. Savor the clean scent after a gentle ACV rinse.
Application And Rinse
A crucial step in using your DIY clarifying shampoo with ACV involves properly applying and rinsing the treatment.
Begin by mixing one tablespoon of baking soda with your regular shampoo to form a paste. Focus the application on your scalp, massaging gently to guarantee even coverage and effective removal of buildup.
Leave the mixture on for one to five minutes, allowing it to dissolve impurities thoroughly.
Next, rinse your scalp and hair thoroughly with warm water until no residue remains.
Follow this with a diluted apple cider vinegar rinse, using one part ACV to three parts water. This helps restore your hair’s natural pH balance and enhances shine.
Proper application and rinse techniques are fundamental for maximizing the clarifying benefits while maintaining scalp health.
Customizing Your Clarifying Shampoo for Your Hair Type
How can you tailor your clarifying shampoo to suit your specific hair type? Customizing your DIY clarifying shampoo guarantees ideal cleansing without compromising hair health.
For an oily scalp, increase baking soda to boost oil absorption.
If you have dry hair, add moisturizing natural ingredients like aloe vera or honey to enhance hydration.
Color-treated hair requires a gentler formula with less baking soda to protect color integrity. Incorporate hydrolyzed proteins for damaged or fragile hair to improve strength and elasticity.
For sensitive skin, include soothing essential oils like lavender or chamomile to prevent irritation.
Balance oil control and scalp comfort with baking soda adjustments. Infuse hydration for dry hair using aloe vera or honey. Protect vibrant color with a mild, low-baking soda mix. Strengthen fragile hair with hydrolyzed proteins. Soothe sensitive scalp using calming essential oils.
How Often Should You Use a DIY Clarifying Shampoo?
When should you incorporate a DIY clarifying shampoo into your hair care routine? If you have oily hair, use a DIY clarifying shampoo once a week to efficiently remove excess oil and product buildup.
For dry or damaged hair, limit clarifying treatments to once a month to prevent stripping essential natural oils and causing further dryness.
If you live in an area with hard water, mineral buildup may require clarifying treatments up to twice a month.
Always monitor your hair’s response. If it feels brittle or overly dry, reduce frequency accordingly.
After each clarifying session, follow up with a deep conditioning treatment to replenish moisture and maintain hair health.
Tailoring your clarifying schedule guarantees effective cleansing without compromising your hair’s integrity. It’s all about finding the right balance for your hair type and environment.
Preventing Product Buildup When Using DIY Clarifying Shampoo
Although clarifying shampoos effectively remove buildup, preventing excessive product accumulation starts with your daily hair care choices. To prevent product buildup, use a homemade clarifying shampoo containing baking soda no more than once or twice monthly. Combine it with a diluted vinegar rinse to maintain scalp pH and enhance shine.
Opt for hair care products made from natural ingredients and avoid heavy styling products that resist water-solubility. Regularly cleanse with sulfate-free shampoos to minimize residue without harsh chemicals.
Choose water-soluble styling products to ease removal. Limit homemade clarifying shampoo use to twice a month. Incorporate diluted vinegar rinse after shampooing. Use sulfate-free shampoos to protect hair health. Select hair care products with natural ingredients.
These steps help you effectively prevent product buildup while maintaining ideal scalp and hair condition.
It’s really about keeping things balanced and gentle so your hair stays healthy and fresh.
Restoring Moisture and pH After Clarifying
After clarifying, it’s important to restore moisture by applying a deep conditioning treatment. This helps keep your hair elastic and healthy.
Then, balancing your scalp’s pH with a diluted apple cider vinegar rinse can really boost shine and smoothness.
Finally, finish off with a hydrating leave-in conditioner or some natural oils to lock in moisture and prevent dryness.
Moisturizing Post-Clarification Care
Because clarifying shampoos strip buildup and residue, you’ll need to restore moisture and balance your hair’s pH right after.
After a clarifying treatment, deep condition your hair to bring back moisture and softness. This helps prevent dryness.
Applying a leave-in conditioner adds hydration and protects your strands from damage.
To support your scalp’s natural pH and boost shine, try using a diluted apple cider vinegar rinse.
Avoid heat styling immediately after clarifying to minimize further drying. Instead, let your hair air-dry gently.
Deep condition to restore moisture and elasticity.
Use leave-in conditioner for ongoing hydration.
Apply a diluted ACV rinse to balance your natural pH.
Skip heat styling and opt for air-drying.
Also, regularly use moisturizing treatments like masks or oils.
These simple steps make sure your hair recovers well after a clarifying treatment.
pH Balancing Techniques
When you clarify your hair, restoring its natural pH balance is essential to prevent dryness and maintain scalp health. Clarifying treatments often use alkaline agents like baking soda, which disrupt the hair’s pH balance, raising it above the ideal 4.5-5.5 range.
To counter this, apply a diluted apple cider vinegar rinse to lower the pH back to suitable levels.
Incorporate moisturizing ingredients such as aloe vera or honey into your post-clarifying routine to lock in moisture and soothe the scalp.
Follow up with a deep conditioning treatment to replenish hydration lost during clarifying. Using a pH-balanced conditioner afterward further supports restoring natural moisture and improving texture.
Limit clarifying treatments to once a month for dry hair to maintain this critical pH balance effectively.
It’s all about keeping the balance just right so your hair stays healthy and happy!
Hydrating Conditioner Importance
Although clarifying shampoos effectively remove buildup, they also strip essential moisture and disrupt your scalp’s natural pH balance. That’s why using a hydrating conditioner after clarifying shampoo is vital. It helps restore moisture, rebalance scalp pH balance, and replenish natural oils lost during cleansing.
This step supports ideal hair health by preventing dryness and brittleness. Trust me, your hair will thank you for it!
Incorporate a hydrating conditioner with ingredients like aloe vera, honey, or natural oils to lock in moisture for lasting softness. It also helps rebalance your scalp’s natural pH and enhances shine and manageability.
Plus, it protects against frizz, especially on curly hair, and maintains overall hair health and resilience. So, it’s really a win-win.
Always follow clarifying treatments with a hydrating conditioner to keep your hair nourished and healthy. Don’t skip this step if you want your hair to look and feel its best!
When to Choose Store-Bought Clarifying Shampoo
If you struggle with heavy product buildup or mineral deposits, opting for a store-bought clarifying shampoo can deliver a more effective cleanse than most DIY alternatives.
These shampoos are formulated with balanced cleansing agents to remove stubborn residue while preserving scalp and hair integrity.
They’re especially helpful if you deal with hard water, which deposits minerals that DIY recipes often can’t fully eliminate.
Plus, many brands offer specialized clarifying shampoos designed for different hair types, like color-treated or curly hair, so you get targeted care.
Using a store-bought clarifying shampoo once or twice a month supports ideal hair health by keeping your scalp clean without causing too much dryness.
Choosing this option also saves time and guarantees consistent results when managing persistent product buildup and mineral challenges.
Frequently Asked Questions
Can I Add Essential Oils to My DIY Clarifying Shampoo?
Yes, you can add essential oils to your DIY clarifying shampoo for enhanced benefits. Use the best essential oils like tea tree or rosemary, which are known for their antimicrobial and hair growth properties.
Always dilute oils properly, around 5-10 drops per batch, to avoid irritation. Combine scents thoughtfully so your shampoo smells pleasant and balanced.
Make sure to do a patch test before using it all over, just to check for any allergies.
Following the right application methods helps keep things safe and makes sure you get the most out of the essential oils in your shampoo.
Is Baking Soda Safe for Color-Treated Hair?
You might worry baking soda will cause color fade, and that’s valid because its high pH disrupts your hair’s pH balance. This can risk dryness and damage.
Still, if you limit treatment frequency to about once a month, baking soda can clear buildup without severely harming hair health.
For safer options, consider alternative ingredients like apple cider vinegar or gentle surfactants. These help maintain color vibrancy while effectively cleansing your scalp.
They’re usually kinder to color-treated hair and keep it looking fresh.
How Long Can I Store My Homemade Clarifying Shampoo?
You can store your homemade clarifying shampoo for about 1-2 weeks to keep it effective and smelling fresh.
Make sure to use sterilized storage containers to avoid contamination and help maintain the pH balance.
It’s best to keep it refrigerated because cooler temperatures slow down bacterial growth and help it last longer.
Adding natural preservatives like essential oils can also safely extend the shelf life of your shampoo.
Before each use, always check for any changes in odor, color, or texture.
This way, you can be sure it’s still good and safe to use.
Can I Use DIY Clarifying Shampoo on Children?
You can use DIY clarifying shampoo on children, but you should tread carefully.
Prioritize children’s scalp health by choosing gentle alternatives with suitable ingredients like diluted apple cider vinegar or baking soda. Always patch test to monitor allergic reactions, considering their sensitive hair type.
Use the product sparingly, once a month at most, and dilute it well.
Follow up with a nourishing conditioner to maintain DIY product safety and keep their hair balanced and healthy.
It’s all about being gentle and cautious with their delicate hair.
Will Clarifying Shampoo Help With Dandruff?
Yes, clarifying shampoo can help with dandruff by removing product buildup that often contributes to dandruff causes.
It restores scalp health by balancing oils and clearing clogged follicles. However, shampoo ingredients matter; those with gentle acids like apple cider vinegar soothe irritation.
Different hair types respond uniquely, so use clarifying shampoo sparingly as part of broader treatment options.
Overuse can dry your scalp, worsening dandruff, so follow up with moisturizing care.
Just remember, it’s one tool among many to keep your scalp happy and healthy.
Conclusion
Think of your hair as a garden. Over time, debris clouds the soil, blocking growth. Your DIY clarifying shampoo acts like a gentle rain, washing away buildup so your scalp can breathe and thrive.
By using ingredients like baking soda and apple cider vinegar thoughtfully, you keep everything balanced without stripping moisture. It’s all about finding that sweet spot.
Just like gardens need careful tending, your hair benefits from occasional, precise clarifying. That’s how you keep it healthy and vibrant.